The true value of a spotting scope isn’t its magnification, but your ability to overcome the environmental and physical limitations that high power creates.
- Heat mirage, not the optic itself, is often the limiting factor for clarity, rendering extreme magnification useless in many conditions.
- A rigid tripod is not an accessory but a mandatory stability system for making any optic over 15x genuinely effective for trophy judging.
Recommendation: Only carry the extra weight of a spotting scope if you are prepared to invest in the stability system and optical discipline required to make its power usable. Otherwise, high-power tripod-mounted binoculars offer a more versatile solution.
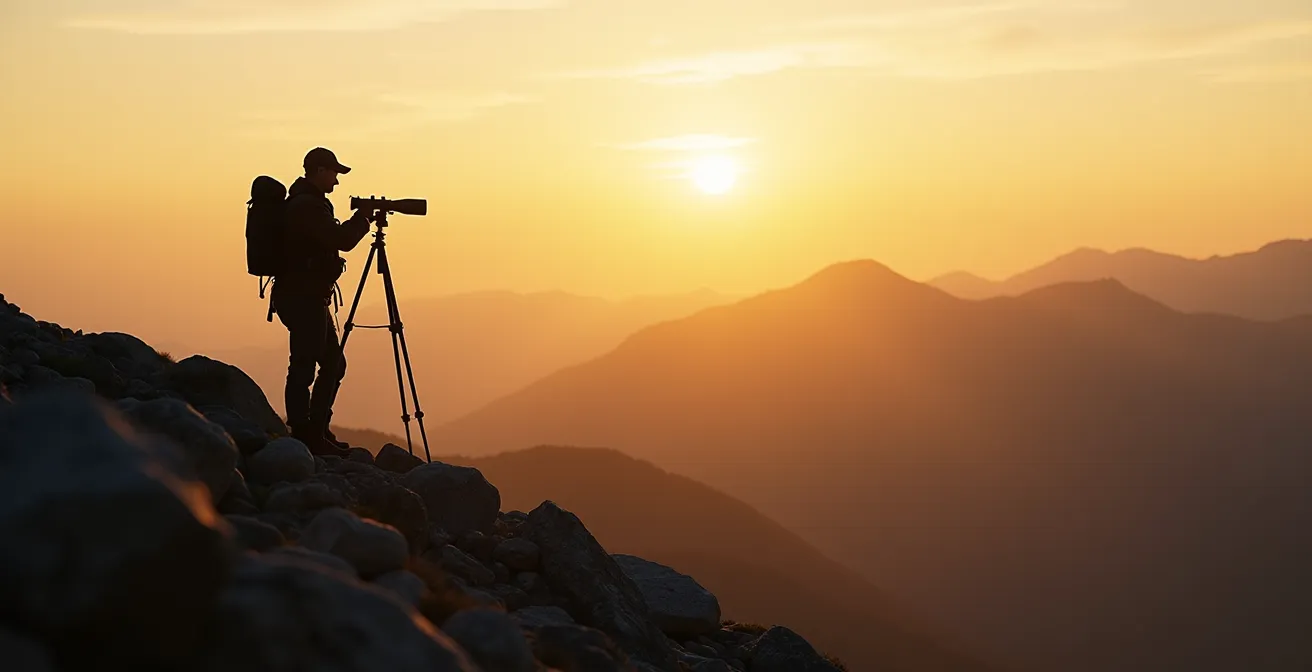
Every Western hunter knows the feeling. You’ve spent hours glassing, your eyes are burning, and you finally spot a potential shooter buck a mile across the canyon. The question is, is he a respectable four-year-old, or the once-in-a-lifetime trophy you’ve been dreaming of? This moment of judgment is where hunts are made or broken, and where the debate between spotting scopes and binoculars becomes intensely personal. The common wisdom is simple: binoculars find game, spotting scopes evaluate it. But reality is far more complex.
The decision to add three to five pounds of a spotting scope and tripod to your pack is not a trivial one, especially when every ounce counts in the backcountry. Many hunters invest in a powerful 60x scope only to find themselves frustrated, unable to get a clear image or make a confident call. They fight shimmering heat waves, frustrating vibrations, and optical illusions that lead to the dreaded “ground shrinkage”—that sinking feeling when the buck on the ground is significantly smaller than he appeared in the scope.
This guide moves beyond the basic platitudes. We will not simply compare specifications. Instead, we’ll explore the critical skills and environmental realities that determine whether a spotting scope is a powerful precision instrument or just dead weight. The key to unlocking a spotter’s potential isn’t just about raw magnification; it’s about mastering the discipline of stability, managing atmospheric degradation, and understanding the nuances of long-range optical judgment. It is only by mastering these factors that the extra weight truly becomes worth the effort.
This article provides a detailed breakdown of the critical factors you must master to make your optics work for you. By exploring the challenges and solutions, from dealing with midday mirage to choosing the right tripod system, you will gain the knowledge needed to make a confident decision and turn your glassing sessions into successful harvests.
Summary: A Precision Guide to High-Magnification Optics
- Why High Magnification Becomes Useless in Mid-Day Heat Mirage?
- How to Capture Crystal Clear Scouting Footage Through Your Scope?
- Tripod or Window Mount: Which Provides the Stability Needed for 60x Glassing?
- Angled or Straight: Which Scope Body Saves Your Neck on steep Slopes?
- The Field Judging Mistake That Makes a 150-Inch Buck Look Like a 170
- When to Mount Your Binoculars to Find Game You Are Missing?
- How to Spot Coues Deer in a Landscape That Looks Completely Flat?
- Public Land or Private Ranch: Which Destination Fits Your Skill Level?
Why High Magnification Becomes Useless in Mid-Day Heat Mirage?
The primary appeal of a spotting scope is its immense magnification, but this power is also its greatest vulnerability. The single most significant factor limiting your ability to judge a trophy animal at distance is not your optic’s quality, but atmospheric distortion, commonly known as heat mirage. As the sun warms the ground, rising air currents of different densities bend light, creating a shimmering, boiling effect that obliterates fine detail. Pushing your magnification higher in these conditions doesn’t clarify the image; it only magnifies the distortion.
This environmental degradation is a hard physical limit. In fact, on a hot day, a high-end 60x spotting scope can be less effective than a quality 15x binocular. Real-world field testing has shown that 16x can be the maximum usable magnification in desert conditions approaching 97°F. Trying to count tines or judge mass through a 40x image that looks like it’s underwater is an exercise in futility and leads to poor decisions. The true optical discipline is knowing when to back off the magnification dial.

Understanding this phenomenon is crucial. It dictates your glassing schedule, forcing you to capitalize on the cool, stable air of dawn and dusk. During midday, your time is better spent relocating to a new vantage point or glassing shaded, north-facing slopes that are less affected by direct sunlight. The expert hunter doesn’t fight the mirage; they work around it.
The following table, based on common field observations, illustrates how quickly image quality can degrade. Note how the practical use of high magnification is severely limited to ideal, cool conditions.
| Magnification | Mirage Effect | Visibility Quality | Practical Use |
|---|---|---|---|
| 10-15x | Minimal | Clear | Full field use |
| 16-25x | Moderate | Shimmer visible | Early/late only |
| 26-40x | Severe | Heavy distortion | Cool conditions only |
| 40x+ | Extreme | Nearly unusable | Dawn/dusk in cool weather |
How to Capture Crystal Clear Scouting Footage Through Your Scope?
Digiscoping—the art of pairing a camera or smartphone with a spotting scope—has revolutionized scouting and trophy judging. It transforms a fleeting observation into a permanent record that can be analyzed, shared, and used to build a “hit list” of target animals year over year. Capturing clear, stable footage, however, requires a systematic approach that goes beyond simply holding your phone to the eyepiece. The goal is to eliminate all sources of vibration and let the optic do its job.
The first step is to achieve perfect focus and exposure *before* you even attach the phone. On your phone’s camera app, point it at the distant landscape and tap and hold to lock the Auto Exposure/Auto Focus (AE/AF). This prevents the phone’s camera from “hunting” for focus through the scope, which creates a frustrating, pulsing effect in your video. Once locked, the fine-tuning of focus should only be done with the scope’s focus wheel, not the phone.
Field Performance of Modern Digiscoping Adapters
Systems like the Phone Skope have become standard equipment for serious hunters. Users consistently report that the ability to instantly review footage in the field allows for more accurate analysis of an animal’s age and score. A key feature is a design that maintains the scope’s eye relief settings. This is critical for quick deployment and for hunters operating with gloves in cold weather, as they don’t have to re-adjust their setup every time they switch between looking through the scope and recording.
The single biggest enemy of sharp digiscoping footage is camera shake. Even the tiny motion of tapping your phone’s screen to start recording will be magnified 60 times, resulting in a wobbly, unusable video. Using a Bluetooth shutter remote is non-negotiable for professional-quality results. This allows you to start and stop recording without ever touching the device, ensuring absolute stability.
Action Plan: Professional Digiscoping Setup
- Lock your phone’s AE/AF (Auto Exposure/Auto Focus) before attaching to prevent the camera from hunting for focus.
- Use a Bluetooth shutter remote to eliminate all camera shake from touching the screen.
- Adjust the scope’s focus knob for fine-tuning rather than relying on the phone’s autofocus.
- Use an adapter system that doesn’t require you to readjust the scope’s eye relief each time you attach the phone.
- Ensure your entire system is anchored on a rock-solid tripod with a quick-release plate for rapid deployment.
Tripod or Window Mount: Which Provides the Stability Needed for 60x Glassing?
At magnifications above 15x, the human body’s natural micro-jitters make it impossible to hold an optic steady enough for detailed evaluation. This makes a stable support system not an option, but a core component of your optical setup. For the Western hunter, this almost always means a tripod. While a window mount is useful for truck-based scouting on a private ranch, it’s completely impractical for the backcountry. The question then becomes what kind of tripod is sufficient.
The stability of your image at 60x is entirely dependent on the rigidity of your tripod and head. A flimsy, lightweight tripod that’s adequate for a small camera will flex and vibrate under the weight of a large spotting scope, especially in the wind. This vibration destroys any chance of resolving fine detail. In fact, professional hunting guides confirm that even 15x binoculars require tripod mounting for effective, extended glassing sessions where you’re trying to pick apart a distant hillside. For a 60x spotting scope, the demand for stability is exponentially higher.
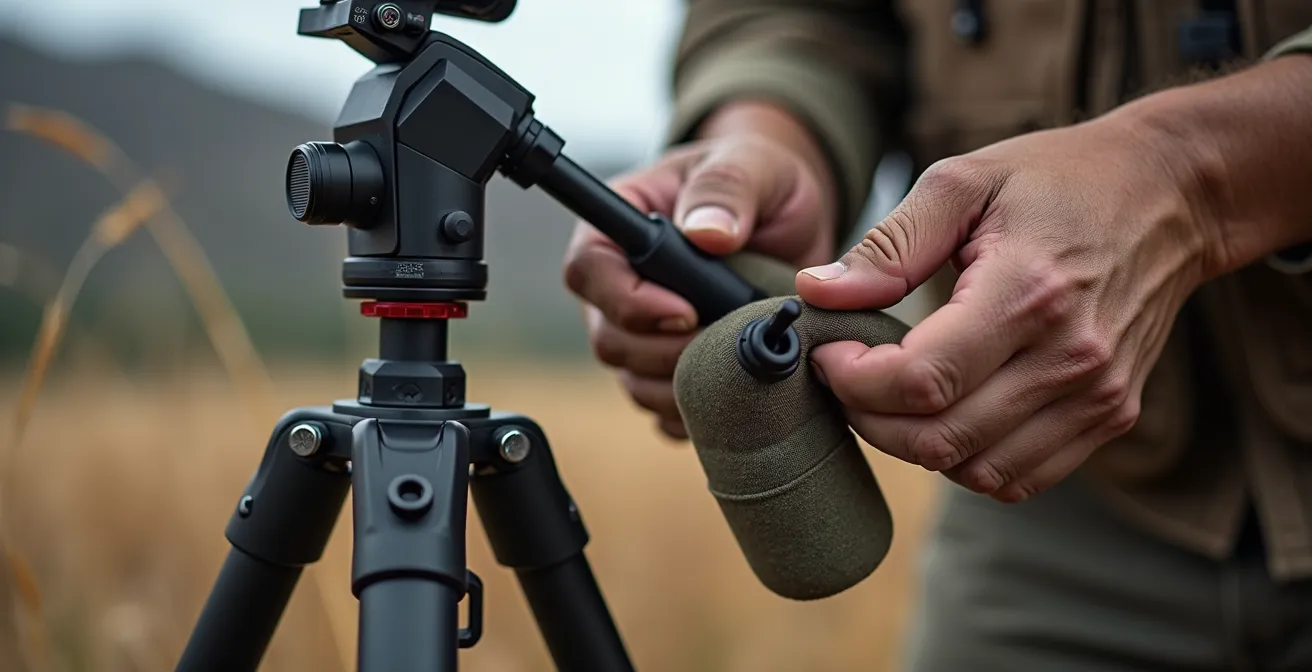
A quality carbon fiber tripod with a fluid pan head is the gold standard for serious hunters. Carbon fiber provides an excellent stiffness-to-weight ratio, while a fluid head allows for smooth, controlled scanning without the jerky movements of a cheap ball head. An expert tip for glassing in windy conditions is to hang your pack or a dedicated weight bag from the tripod’s center column hook. This added mass dramatically dampens vibrations and can be the difference between a shaky, unusable image and a clear, confident judgment.
Ultimately, your tripod is a stability system. Skimping on the tripod after investing in a high-end spotting scope is like putting budget tires on a race car—it completely undermines the performance of the entire system. The weight of a solid tripod is part of the price of admission for effective high-magnification glassing.
Angled or Straight: Which Scope Body Saves Your Neck on steep Slopes?
The choice between an angled and a straight-body spotting scope is one of the most debated topics in hunting optics, but the decision becomes much clearer when viewed through the lens of a mountain hunter. For long, patient glassing sessions on steep terrain, the angled body scope is overwhelmingly superior for ergonomic comfort. It allows you to set the tripod lower, which increases stability and lets you assume a more relaxed, seated position while looking down into the eyepiece. Glassing uphill for hours with a straight scope forces you into a painfully strained neck position that is simply not sustainable.
While a straight scope offers slightly faster target acquisition because you are looking directly in line with the barrel, this advantage is marginal in a hunting context where you are typically scanning vast areas slowly, not snap-aiming. The comfort and sustainability of the angled body far outweigh the speed of the straight body for 90% of Western hunting scenarios. This ergonomic advantage also extends to sharing the scope with a partner of a different height; small adjustments to the rotating collar on an angled scope are much easier than raising or lowering the entire tripod.
For 60x glassing, a fluid pan head is non-negotiable for effective scanning. Ball heads can sag under heavy scopes.
– TRACT Optics Technical Team, TRACT Optics Blog – Spotting Scope Selection Guide
The type of head on your tripod is just as important as the scope body. As noted by the experts at TRACT Optics, a fluid head is essential for smooth scanning at high power. A ball head, while often lighter, can “sag” or “creep” after you lock it down, especially with a heavy scope, causing you to constantly re-aim.
The following table provides a clear breakdown of the pros and cons in typical hunting situations. For the mountain hunter who values comfort during long glassing sessions and may be interested in digiscoping, the angled body is the clear winner.
| Feature | Angled Scope | Straight Scope |
|---|---|---|
| Uphill Glassing | Excellent – Relaxed posture | Poor – Severe neck strain |
| Downhill Viewing | Good | Better – Natural alignment |
| Target Acquisition | Slower – Indirect sight line | Faster – Direct line to target |
| Digiscoping | Superior – Comfortable screen angle | Awkward positioning required |
| Tripod Height Needed | Lower/lighter possible | Must extend to eye level |
| Multiple Users | Better – Accommodates height differences | Difficult with height variance |
The Field Judging Mistake That Makes a 150-Inch Buck Look Like a 170
The ultimate purpose of carrying a high-magnification spotting scope is to achieve judgmental accuracy—the ability to precisely estimate an animal’s score from a distance to make an ethical and legal harvest decision. However, the very nature of high-power optics can create optical illusions that trick even experienced hunters. The most common mistake is misinterpreting size due to the animal’s background and the scope’s narrow field of view.
This phenomenon, known as “ground shrinkage” or “sky-lining,” is a significant challenge. A buck viewed against a busy, textured background like brush or timber will often appear smaller than he actually is. The narrow field of view isolates the animal, but the complex background confuses the brain’s ability to judge scale. Conversely, an animal that is “sky-lined”—viewed against a plain, empty background like the sky—can appear 15-30% larger than its actual size because there are no reference points to give it scale. This is how a 150-inch buck can easily be mistaken for a 170-inch giant, leading to major disappointment.
Anatomical Referencing: The Cure for Optical Illusions
The solution to these optical illusions is a technique called anatomical referencing. Instead of trying to guess the raw inches of an antler beam, you compare antler features to known body parts. For a mule deer, a key reference is the ear length, which is consistently around 8 inches. By judging a G2 tine as being “twice the ear length,” you can confidently estimate it at 16 inches, regardless of the background. Comparing the antler spread to the ear tip-to-ear tip width provides another reliable metric. This disciplined method of using the animal as its own ruler provides consistent, reliable measurements and is the hallmark of an expert judge.
Mastering judgmental accuracy requires patience and a systematic approach. You must take the time to study the animal from multiple angles if possible, and always rely on anatomical referencing over gut feeling. A few extra minutes behind the glass using this technique can save you from hours of pack-out regret. It is a skill of precision, not just observation, and it is the core reason for carrying a spotting scope in the first place.
When to Mount Your Binoculars to Find Game You Are Missing?
While spotting scopes are specialist tools for evaluation, high-power binoculars (12x, 15x, or even 18x) have become a dominant force in Western hunting for finding game. However, many hunters fail to unlock their full potential by continuing to hand-hold them. According to Alaska Department of Fish and Game research, binoculars over 10x power become difficult to hold steady enough for effective, prolonged glassing. The constant micro-jitters from your hands, heartbeat, and breathing create a subtle blur that makes your brain work harder and, more importantly, can cause you to miss game that is hiding in plain sight.
The moment you mount a pair of 15x binoculars on a solid tripod, the image locks into a stable, crystal-clear picture that is impossible to achieve handheld. This is when you start seeing things you were missing: the flicker of an ear in the shadows, the horizontal line of a deer’s back in a sea of vertical timber, or a bedded bull elk that was just a brown spot before. Tripod-mounting your high-power binoculars transforms them from a simple scanning tool into a serious primary glassing system.
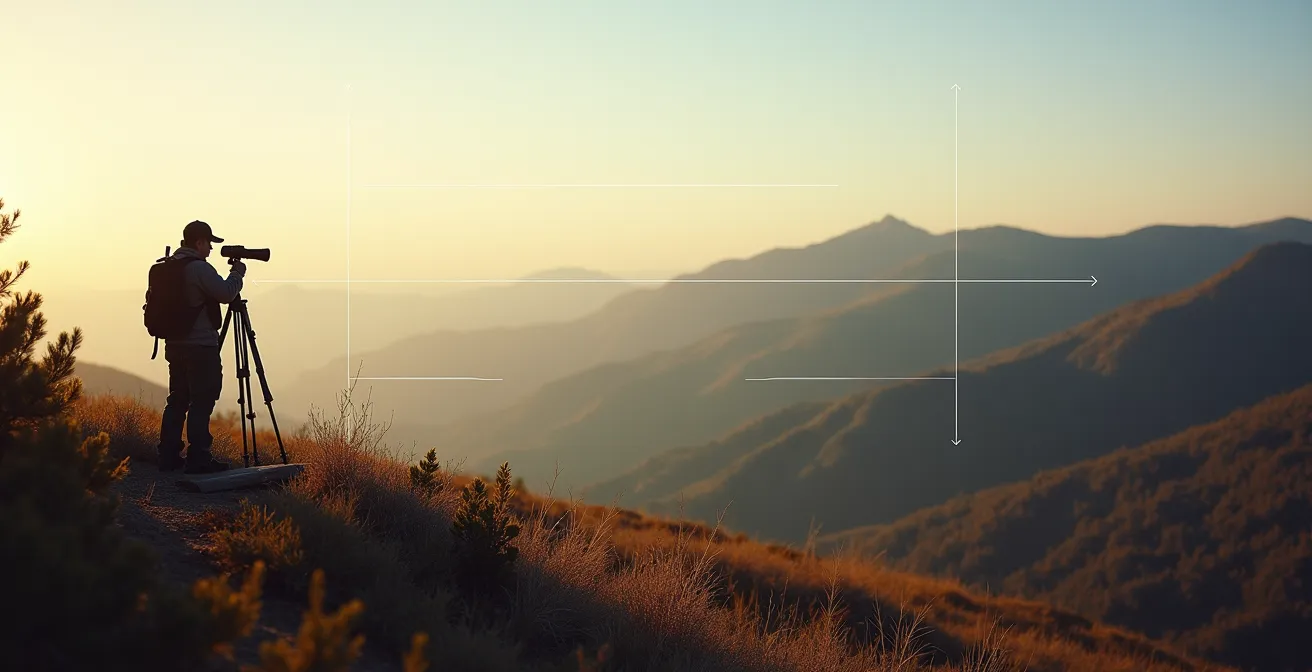
The primary advantage of a tripod-mounted binocular setup over a spotting scope is the vastly superior field of view and the comfort of using both eyes. You can scan for hours without the eye strain that comes from squinting into a single eyepiece. The proper technique is a systematic grid search. Start at one edge of a basin, scan slowly across the top, drop down one field of view, and scan back the other way. This disciplined approach ensures you cover every inch of the terrain and is far more effective than randomly looking at “deery” spots.
So, when should you mount your binos? The answer is: anytime you are sitting down to glass for more than a few minutes. If you have binoculars of 12x or higher, they should live on a tripod. This system is often more effective for finding game than a spotting scope, reserving the spotter only for that final, detailed trophy judgment once an animal has been located.
How to Spot Coues Deer in a Landscape That Looks Completely Flat?
Hunting Coues deer, the “grey ghosts” of the desert Southwest, is a specialized form of optical discipline. These small deer are masters of camouflage, and they inhabit landscapes that can appear frustratingly monotonous and flat through optics. Spotting them requires specific techniques, extreme patience, and an understanding of how light and shadow play across the terrain. Simply scanning hillsides randomly is a recipe for failure.
The first key is to glass during the first and last hours of the day. The low-angle sunlight creates long shadows that reveal subtle micro-topography—small draws, cuts, and folds in the terrain—that are completely invisible under the harsh, flat light of midday. These are the exact places a Coues buck will bed. The most effective technique is to start glassing shaded hillsides and then follow the receding shadow line as the sun rises. This forces you to concentrate on small, manageable sections of the landscape.
Because these deer are so small and blend in so well, you must train your eyes to look for parts of a deer, not the whole animal. Forget looking for a deer-shaped object. Instead, focus on finding things that don’t belong:
- The white flash of a rump patch.
- The unnatural horizontal line of a deer’s back amongst vertical yucca and brush.
- The dark, V-shape of two legs under a juniper tree.
- The constant, nervous flicker of an ear.
The Shadow-to-Sun Glassing Technique
Desert hunting specialists consistently report that the most successful Coues deer hunters are those who practice extreme patience, often spending an hour or more glassing a single basin from one location. They use high-power optics (minimum 15x) on a tripod to dissect these areas. By starting in the cool morning shadows and methodically following the sun line across a slope, they are able to catch deer moving from feeding areas to their beds. This patient, systematic approach dramatically improves detection rates over haphazard glassing.
Spotting a grey ghost is the ultimate test of your glassing patience and skill. It requires a tripod, high-power optics, and the mental fortitude to sit still and trust your system. It’s less of a hunt and more of a long-distance search and rescue mission for an animal that doesn’t want to be found.
Key Takeaways
- Atmospheric mirage is the true limit to long-range clarity; high magnification is useless without cool, stable air.
- A rigid tripod and quality head are a non-negotiable stability system that unlocks the potential of any optic over 12x.
- For mountain hunting, the ergonomic comfort and digiscoping-friendliness of an angled scope body far outweigh the marginal benefits of a straight model.
Public Land or Private Ranch: Which Destination Fits Your Skill Level?
The final piece of the puzzle is understanding how your choice of hunting destination impacts your optical needs. The demands of a backcountry public land hunt are vastly different from those of a guided hunt on a private ranch, and your optics setup should reflect that. The primary variables are game density, hunting pressure, and average glassing distance.
On public land, game density is typically low and hunting pressure is high. This means you need to find animals before other hunters do, and often from a great distance to avoid spooking them. This is where a spotting scope becomes an essential tool, allowing buck assessment from over a mile away without alerting the animal or revealing your position. The return on investment for high-end optics is extremely high here, as the ability to resolve detail at a distance is a significant competitive advantage. Weight is a critical consideration, as every piece of gear is carried on your back.
On a managed private ranch, the situation is often reversed. Game density is higher, hunting pressure is low, and access is often vehicle-based. Animals are easier to locate, and glassing distances can be shorter. In this scenario, a high-quality pair of 10x or 12x binoculars may be perfectly sufficient for both finding and evaluating game. While a spotting scope is still useful, it moves from “essential” to “nice to have.” Weight is far less of a concern, so heavier, more comfortable setups can be used.
This table summarizes the key differences in optical requirements based on the hunting environment:
| Factor | Public Land | Private Ranch |
|---|---|---|
| Game Density | Low – requires extensive glassing | High – animals easier to locate |
| Hunting Pressure | High – need to spot first | Low – less competition |
| Glassing Distance | Often 1+ miles | Typically closer range |
| Optics Priority | Spotting scope essential | Quality binoculars sufficient |
| Weight Consideration | Critical – backcountry hiking | Less important – vehicle access |
| ROI on High-End Optics | Very High | Moderate |
Ultimately, choosing the right optics is about making an honest assessment of your typical hunting scenario. By matching your equipment and skills to the specific demands of your destination, you ensure that every piece of gear in your pack, especially a heavy spotting scope, is pulling its weight and contributing directly to your success.