Building a capable hunting kit for under $1000 isn’t about buying cheap gear; it’s about investing in a durable system where skill replaces expensive gadgets.
- Focus spending on critical failure points like quality zippers and boot construction, not brand names.
- Adopt “function stacking” by choosing multi-use items that perform several jobs, reducing weight and cost.
Recommendation: Your most valuable piece of gear is your brain. Invest in knowledge of navigation, repair, and maintenance to outperform any budget.
The outdoor industry thrives on a simple premise: more gear equals more success. You’re led to believe that a bigger budget, more gadgets, and the latest camouflage pattern are the keys to a successful hunt. This marketing barrage is overwhelming, especially for a beginner or a seasoned hunter looking to simplify. It creates a false narrative that you need to spend thousands of dollars before you can even step into the woods. The truth is, most of this gear is designed to solve problems that don’t exist or to compensate for a lack of fundamental skills.
The common advice is to look for sales, buy used, or find budget brands. While not wrong, this approach still keeps you in the consumer cycle, focused on acquiring *things*. It misses the core principle of true field efficiency. This guide offers a different path. It’s not a shopping list. It’s a framework for a different mindset: the minimalist survivalist approach. We will deconstruct the idea of a “kit” and rebuild it as a cohesive “system” where every item is justified, durable, and often serves multiple purposes. The goal is to replace expensive, heavy, single-use items with skill, knowledge, and a few well-chosen, bombproof pieces of equipment.
This isn’t about being cheap; it’s about being smart. It’s about understanding that a $5 zipper repair kit and the knowledge to use it are infinitely more valuable than a $500 jacket with a flimsy zipper. We’ll explore how to identify these critical failure points, how to prioritize function over features, and how to build a robust, lightweight, and effective hunting system that leaves you with more money in your pocket and more confidence in the field.
This article will guide you through the critical decisions needed to build this minimalist system. The following sections break down the philosophy and practical steps for choosing gear that works for you, not the other way around.
Contents: Your Roadmap to a Frugal and Effective Hunting System
- Why Cheap Zippers Fail Faster Than Cheap Fabric in the Field?
- How to Pack Your Rucksack to Distribute Weight for All-Day Comfort?
- Knife or Multi-tool: Which Is Truly Indispensable for the Solo Hunter?
- The “Must-Have” Gadget That 90% of Pros Leave in the Truck
- When to Waterproof Your Gear to Ensure It Lasts Another Season?
- When to Buy Your Boots to Ensure They Are Ready for Opening Day?
- Softshell vs. Hardshell: Which Layer Handles Briars and Rain Best?
- What Technical Gear Do You Really Need for a High-Altitude Sheep Hunt?
Why Cheap Zippers Fail Faster Than Cheap Fabric in the Field?
When you’re on a budget, it’s tempting to think all components of a piece of gear are created equal. They are not. A catastrophic failure in the field rarely comes from the fabric of your pack or jacket tearing. It comes from the mechanical parts: zippers, buckles, and seams. Of these, the zipper is the most notorious point of failure. It’s a complex moving part exposed to dirt, ice, and constant stress. Professional repair service data confirms this, showing that 78% of ice suit failures are zipper-related. A blown-out zipper on your pack means your gear is spilling out; a failed zipper on your jacket means you lose critical heat retention.
The frugal minimalist doesn’t just buy a product; they analyze its durability points. When evaluating a pack, jacket, or tent, pay more attention to the zipper than the logo. Look for oversized, robust YKK or VISLON zippers. Test them. They should feel smooth and strong, not gritty or flimsy. This is a non-negotiable area for investment. A slightly more expensive pack with a bombproof zipper is a far better value than a cheaper one that will fail you when you’re miles from the truck. This is the essence of smart, frugal hunting: identifying and investing in what truly matters for reliability.
The second part of this philosophy is preparedness. Since even the best gear can fail, skill and a minimal repair kit are your ultimate insurance. Knowing how to perform a field repair on a zipper is a skill that weighs nothing and replaces the need for a backup jacket. A simple, inexpensive kit can save a hunt that would otherwise be over. A prepared hunter with a $150 pack and a zipper repair kit is in a better position than an unprepared hunter with a $600 pack.
Your Action Plan: Assemble a $5 Zipper First-Aid Kit
- Gather Components: Get 6 replacement sliders (common #10, #8, #5 coil and VISLON types).
- Add Tools: Pack a seam ripper, two #16 sewing needles, heavy-duty black thread, and small pliers.
- Include Small Parts: Carry 10 top stops for creating emergency zipper ends.
- Upgrade Your Thread: Include a small amount of waxed dental floss as a stronger, waterproof alternative to thread for critical repairs.
- Practice: Before your hunt, practice replacing a slider on an old piece of gear so you’re not learning in the dark and cold.
How to Pack Your Rucksack to Distribute Weight for All-Day Comfort?
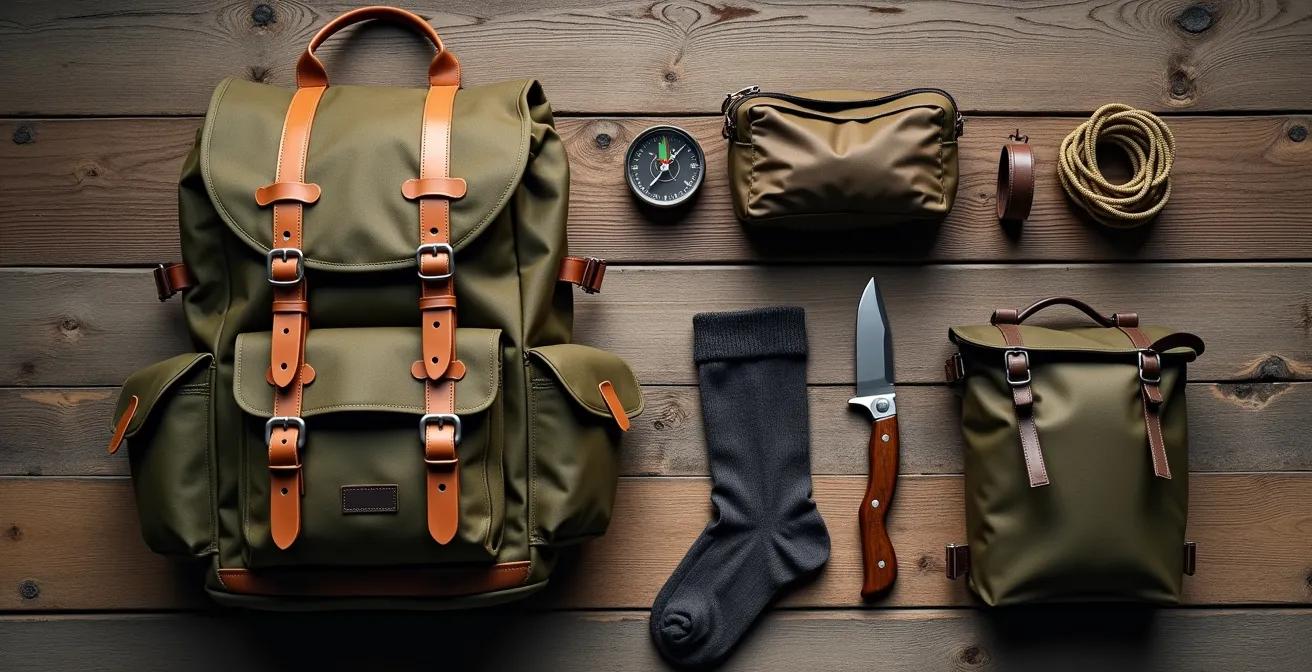
Comfort on a long hunt has less to do with the price tag of your rucksack and more to do with your understanding of physics. An expensive pack can feel miserable if loaded incorrectly, while a well-packed, modest pack can feel like an extension of your body. The key is strategic weight distribution. The common mistake is to pack based on when you *think* you’ll need an item. The minimalist hunter packs based on weight and density, creating a stable center of gravity that works with your body, not against it. This skill is free and provides more comfort than any high-tech suspension system.
The core principle is to keep the heaviest items high up and close to your spine, between your shoulder blades. This centers the mass over your hips, which are designed to carry weight. Lighter, bulkier items like a sleeping bag or extra clothes should be packed at the bottom to form a stable base. Medium-weight items you need to access regularly, like rain gear or a spotting scope, should be in the middle or outer pockets. This creates a dense, stable core that won’t swing or pull you backward, saving immense energy over a day of hiking.
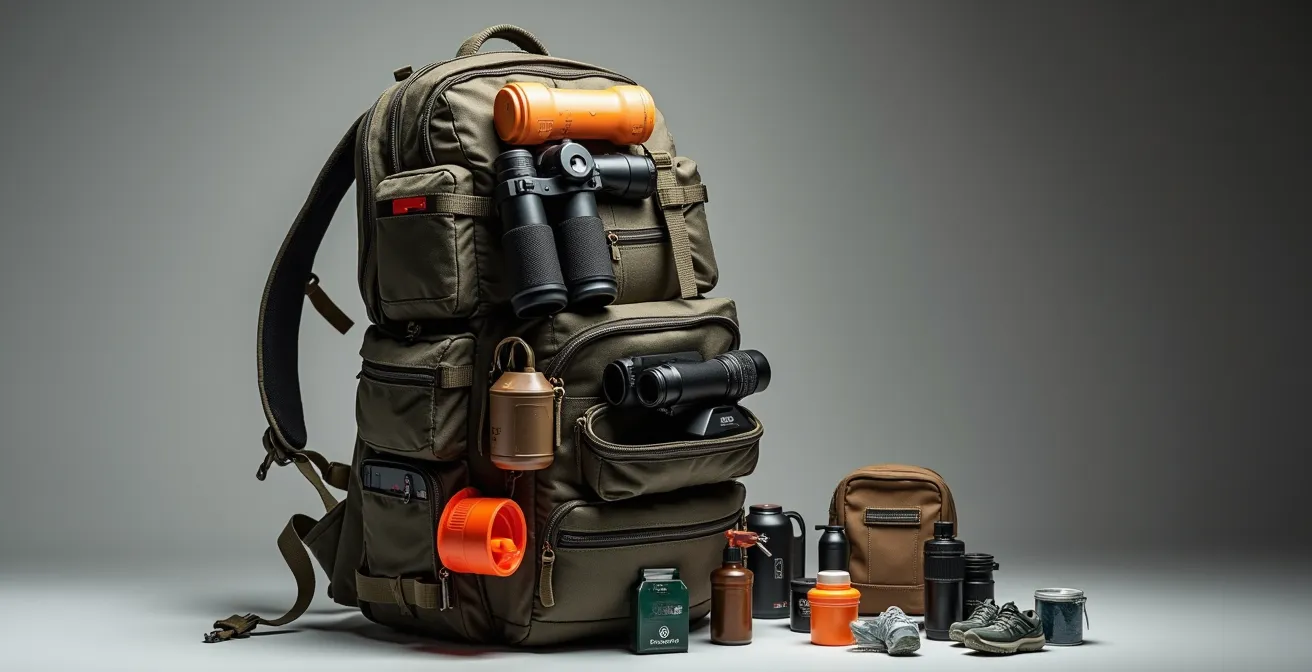
This “action zone” packing method, as illustrated above, transforms your pack from a simple bag into a high-performance system. The goal is to minimize how often you have to take your pack off. Items for observation (binoculars, calls) should be on your person or in an easily accessible pouch. Stalking items and essentials like water and snacks should be in side or top pockets. Deep storage is for camp and emergency gear you won’t touch until the end of the day. This approach proves that system thinking is more valuable than an expensive pack. As Mark Huelsing of Exo Mountain Gear has shown, a meticulously organized system can result in a complete multiday setup weighing only 18 pounds, demonstrating that thoughtful selection is the ultimate weight-saver.
Knife or Multi-tool: Which Is Truly Indispensable for the Solo Hunter?
The debate between a fixed-blade knife and a multi-tool is a classic in the hunting world. The traditionalist view favors the simple, bombproof reliability of a good fixed blade for game processing. The modernist argues for the versatility of the multi-tool. The frugal minimalist, however, doesn’t choose one or the other; they analyze the *functions* needed and find the most weight- and cost-effective solution. The question isn’t “which tool is better?” but “which *system* of tools solves the most problems for the least weight and cost?”
A high-quality fixed-blade knife is unparalleled for its primary task: processing an animal. It’s strong, ergonomic, and easy to clean. However, its utility ends there. It can’t tighten a screw on your rifle scope, fix a stove, or pull a porcupine quill from your dog’s nose. A multi-tool can do all of these things, but it is often a compromise for heavy-duty cutting tasks. Its blade may be smaller, less ergonomic, and harder to clean. This is where the concept of function stacking comes in. Instead of one expensive tool, the minimalist considers a two-part system: an inexpensive but reliable fixed-blade knife (like a Mora) paired with a quality plier-based multi-tool.
As hunter and writer Adam Janke points out, the real value of a multi-tool is in its functions that a knife cannot replicate at all. He states:
The single most indispensable function is often the pliers on a multi-tool—for pulling porcupine quills from a dog, fixing a zipper, tightening a loose screw on a rifle stock, or removing a hot pot from a fire. This function is impossible to replicate with a simple knife.
– Adam Janke, GearJunkie Outdoor Life
This table breaks down how a budget two-tool system often outperforms a single, more expensive option across the board, providing maximum capability for a minimal investment in both weight and dollars.
| Job Category | Fixed-Blade Knife | Multi-tool | Budget Two-Tool System |
|---|---|---|---|
| Game Processing | Excellent | Adequate | Excellent |
| Gear Repair | Poor | Excellent | Excellent |
| Survival Tasks | Good | Good | Excellent |
| Total Weight | 4-6 oz | 8-12 oz | 6-8 oz |
| Total Cost | $15-30 | $50-100 | $35-50 |
The “Must-Have” Gadget That 90% of Pros Leave in the Truck
The market is flooded with electronic gadgets promising to make you a better hunter: dedicated GPS units, ballistic calculators, digital wind meters, and more. While some have their place, many are expensive, heavy, and fragile single-taskers. The most over-marketed and often unnecessary of these is the standalone handheld GPS unit. For the vast majority of hunting scenarios, it’s an expensive redundancy that can be completely replaced by a more powerful, multi-use device you already own: your smartphone.
This is the ultimate example of skill over steel. The ability to navigate with a map and compass is a foundational hunting skill. Relying solely on a GPS not only makes you a less capable woodsman but also introduces a critical point of failure (batteries, breakage, satellite signal loss). The minimalist hunter doesn’t discard technology but harnesses it intelligently. By using a smartphone with a quality hunting app (like onX Hunt) and downloaded offline maps, you have a superior navigation tool that also serves as your camera, notepad, and emergency communication device. Paired with a small, lightweight power bank, you have enough power for a multi-day trip while saving hundreds of dollars and significant weight.
The financial argument is stark. A quality compass is a one-time purchase. As noted by experts at MeatEater, you can compare a one-time $30 quality compass purchase against $120-240 in annual GPS subscription costs for dedicated devices and premium app features. The true minimalist system—the “trinity” of a smartphone with offline maps, a power bank, and a waterproof paper map with a compass as a failsafe—is more resilient, versatile, and cost-effective than any dedicated GPS unit on the market. It requires you to practice your skills, but the result is a lighter pack and a more confident hunter. The “must-have” gadget is the one you master, not the one you buy.
When to Waterproof Your Gear to Ensure It Lasts Another Season?
Frugality is not just about buying cheaper gear; it’s about making the gear you own last longer. One of the most critical maintenance tasks that hunters neglect is renewing the water repellency of their outerwear and equipment. Most rain gear comes with a Durable Water Repellent (DWR) finish from the factory. This is the coating that makes water bead up and roll off the surface. Over time, this finish is worn away by dirt, abrasion, and washing. When it fails, the fabric “wets out”—it becomes saturated with water, feeling heavy, cold, and losing its breathability. Many hunters mistakenly think their jacket is no longer waterproof and replace it, wasting hundreds of dollars.
The key is a proactive, end-of-season maintenance schedule. Don’t wait until the first downpour of next year’s season to discover your gear has failed. Professional guides recommend a systematic “gear autopsy” protocol at the end of every season. This involves thoroughly cleaning all your gear first, as dirt is a primary cause of DWR failure. Then, test the finish by sprinkling water on it. If it beads up, you’re good to go. If it soaks in, the DWR needs to be reactivated.

Often, you don’t even need to apply a new product. The first step is to try reactivating the existing DWR with heat. Tumble drying the clean garment on a low-to-medium heat for 20 minutes can often restore the finish. Only if this fails should you apply a new spray-on or wash-in DWR treatment like Nikwax or Grangers. This simple, preventive approach can easily add two to three seasons to the life of a jacket or pants, saving a significant amount of money and ensuring you stay dry when it counts. It’s a small investment of time that pays huge dividends in gear longevity and field performance.
When to Buy Your Boots to Ensure They Are Ready for Opening Day?
Of all the gear you’ll buy, nothing will make or break a hunt faster than your boots. A bad pair of boots can cause debilitating blisters and pain that will send you home early, no matter how great the rest of your kit is. The most common and costly mistake a budget-conscious hunter makes is buying boots right before the season starts. There is no “out-of-the-box” comfort, especially with more affordable, stiffer boots. The price of comfort is not paid at the cash register; it’s paid in time and sweat during the break-in period.
The ideal time to buy new hunting boots is at least three months before opening day. This gives you the necessary window to properly mold them to your feet and identify any potential hot spots or fit issues while you can still return them. The break-in process should be gradual and methodical. Start by wearing them around the house, then on short walks on pavement, and slowly progress to longer hikes on uneven terrain. Crucially, you must complete the final stages of the break-in process wearing the same socks you’ll hunt in and with a pack loaded to the weight you anticipate carrying. This simulates real-world conditions and ensures a true fit.
A structured schedule is the best way to guarantee your boots are an asset, not a liability. The following 100-hour break-in schedule is a proven method for transforming a stiff new pair of boots into a comfortable, reliable part of your system. It may seem excessive, but every hour invested here is an investment in your ability to stay in the field and hunt effectively. Rushing this process is the single biggest gamble you can take with your hunt.
The 100-Hour Boot Break-in Schedule
- Weeks 1-2: Wear boots around the house for 2 hours daily (14 hours total).
- Weeks 3-4: Take daily 30-minute walks on pavement (7 hours total).
- Weeks 5-6: Progress to 2-hour hikes on local trails (14 hours total).
- Weeks 7-8: Add a weighted pack (20-30 lbs) for your 2-hour trail hikes (14 hours total).
- Weeks 9-12: Conduct long hikes (4+ hours) with your full hunting weight pack (50+ hours total).
- Final Check: In the final week, stand in ankle-deep water for 5 minutes to test waterproofing.
Softshell vs. Hardshell: Which Layer Handles Briars and Rain Best?
Your outer layer, or “shell,” is your primary defense against the elements. The choice between a softshell and a hardshell jacket is a critical one that directly impacts your comfort and effectiveness. It’s not about which is “better,” but which is the right tool for the job. A hardshell is essentially your dedicated rain jacket. It’s made of a waterproof, breathable membrane (like Gore-Tex) and is designed to keep you dry in a downpour. Its main drawback is that it can be noisy and less breathable during high-exertion activities.
A softshell, on the other hand, is the workhorse of your layering system. It’s typically more breathable, quieter, and more comfortable for active use. Most are treated with DWR, making them highly water-resistant and capable of handling light rain or snow. Crucially, their woven construction makes them far more durable and resistant to abrasion from briars, branches, and rock. For 90% of hunting conditions that aren’t a sustained downpour, a softshell is the superior choice for its balance of protection, breathability, and toughness.
The minimalist hunter thinks in terms of a system. The ideal setup for mixed conditions is to layer both. You wear the comfortable, durable softshell as your primary outer layer for most of the day. The lightweight, packable hardshell stays in your pack as an insurance policy, only to be brought out when the weather turns truly foul and you’re sitting for long periods. This system gives you the best of both worlds: durability and quiet comfort for stalking, and absolute waterproofness when you need it most. The following matrix helps clarify the decision-making process based on conditions and activity level.
| Conditions | Activity Level | Vegetation | Best Choice |
|---|---|---|---|
| Light Rain/Mist | High (Stalking) | Open | Softshell |
| Light Rain/Mist | High | Thick Briars | Softshell |
| Heavy Rain | Low (Glassing) | Any | Hardshell |
| Dry Weather | Any | Thick Briars | Softshell |
| Mixed Conditions | Variable | Mixed | Layer Both |
Key Takeaways
- Your brain is your best gear: Skill in navigation, repair, and maintenance weighs nothing and replaces expensive equipment.
- Invest in durability points: Focus your budget on critical components like zippers, boot soles, and pack buckles, where failure ends a hunt.
- Prioritize “function stacking”: Choose versatile, multi-use items to reduce weight, cost, and complexity in your system.
What Technical Gear Do You Really Need for a High-Altitude Sheep Hunt?
High-altitude sheep hunting is often seen as the pinnacle of gear-intensive pursuits, where ultralight, ultra-expensive equipment is considered mandatory. While certain items are non-negotiable (quality optics, a reliable rifle), the “gram weenie” mindset of ruthless elimination can be applied here more effectively than anywhere else—and it costs nothing. The core philosophy is that reducing weight through intelligence and discipline provides the same performance benefit as thousand-dollar gear upgrades. It’s not about what you can afford to bring; it’s about what you can force yourself to leave behind.
This mindset requires you to question every single item. Do you need a separate cup, or can you drink from your cooking pot? Can you cut your toothbrush handle in half to save half an ounce? Can you repackage first-aid supplies and food from bulky commercial packaging into simple ziplock bags? Individually, these savings are trivial. Collectively, they add up to pounds. This mental exercise of a “leave behind” audit is the most powerful weight-saving tool you have. This approach has been proven by professional mountain hunters who cut pack weight by 30-40% through these micro-optimizations, proving that intelligence is lighter than carbon fiber.
Case Study: The Gram Weenie Mindset
Professional mountain hunters report cutting pack weight by 30-40% through ruthless elimination: cutting toothbrush handles in half saves 0.5oz, using a cooking pot as a coffee mug saves 4oz, and repackaging first-aid supplies into ziplock bags saves 6oz. These micro-optimizations collectively save pounds, proving that weight reduction through intelligence costs nothing but delivers performance equal to thousand-dollar ultralight gear upgrades.
Ultimately, this philosophy extends to your most critical gear. As the editorial team at Western Hunter magazine emphasizes, “It’s better to have a simple, bombproof item than a complex, feature-rich item that might fail.” A simple, rugged bolt-action rifle is more reliable in the harsh, unforgiving environment of the high mountains than a complex semi-automatic with more moving parts. For a high-altitude hunt on a budget, the required technical gear is not a longer list, but a shorter, more scrutinized one. It’s a list defined by reliability, simplicity, and the absolute justification for every single ounce you decide to carry up the mountain.
Start building your minimalist system today by auditing what you can leave behind, not just what you need to buy.