The best optic isn’t the most powerful; it’s the one whose optical properties are perfectly matched to the physical realities of your specific hunting environment.
- Higher magnification is often defeated by atmospheric mirage and hand-shake, making it less effective than a stable, lower-power image.
- A wider field-of-view frequently reveals more game in dense cover, where spotting subtle movement is key.
- Tripod-mounting high-quality binoculars can offer superior two-eyed comfort and effectiveness over an entry-level spotting scope for many scenarios.
Recommendation: Audit your primary hunting terrain and typical engagement distances before investing in new glass to ensure your choice is a strategic asset, not just dead weight.
For any serious hunter, the debate between binoculars and a spotting scope is a constant mental exercise. It’s a conversation that echoes from the dense hardwood forests of the East to the vast, open basins of the West. The common advice is to simply “buy the best glass you can afford,” but this oversimplifies a deeply technical decision. The real dilemma isn’t just about budget; it’s a complex trade-off between magnification, light-gathering ability, field of view, and the one factor that governs every backcountry hunt: weight. For hunters who are already debating the merits of different systems, the question evolves beyond a simple “which one?” to a more nuanced “when and why?”
Many discussions get bogged down in platitudes. Yes, a spotting scope is for long-range evaluation, and binoculars are for scanning. But what if your 15x binoculars on a tripod could outperform a budget spotter? What if the “superior” 10x magnification is actually a liability in the thick timber where you hunt whitetails? The truth is that the effectiveness of an optic is dictated less by the numbers printed on its housing and more by the laws of physics and the specific conditions of the field. An optic that provides a clear image is the goal, but “clarity” is a product of stability, light quality, and atmospheric conditions—not just raw power.
This analysis moves beyond the surface-level debate. We will dissect the optical science that governs performance, applying it directly to the practical scenarios you face. We will explore why a wider field of view can be more valuable than extra magnification, how the quality of glass itself creates a visible difference, and when the extra weight of a larger objective or a spotting scope is truly worth the effort. By understanding the “why” behind the performance, you can select an optical system that doesn’t just help you see, but helps you hunt more effectively and with less fatigue, regardless of your terrain.
This guide breaks down the critical decisions you’ll face when building your optical system. By examining each component, from magnification to glass quality and carrying methods, you can make an informed choice that truly matches your specific needs in the field.
Table of Contents: Binoculars vs. Spotting Scope: An Expert’s Breakdown
- Why 10×42 Is Not Always Better Than 8×42 for Woods Hunting?
- 42mm vs. 50mm: Is the Extra Weight Worth the Extra Light at Dusk?
- ED vs. HD Glass: What Difference Can the Human Eye Actually See?
- The Neck Strap Mistake That Causes Fatigue and Clanking
- When to Mount Your Binoculars to Find Game You Are Missing?
- Why High Magnification Becomes Useless in Mid-Day Heat Mirage?
- How to Use Satellite Imagery Without Losing the Spirit of the Hunt?
- Spotting Scope vs. Binoculars: When Is the Extra Weight Worth the Effort?
Why 10×42 Is Not Always Better Than 8×42 for Woods Hunting?
The 8x vs. 10x debate is the classic starting point for any binocular discussion. The intuitive choice is often the 10×42, assuming more magnification is always an advantage. However, in the dense environments typical of Eastern woods hunting, this assumption can be a critical mistake. The primary trade-off for that extra 2x magnification is a significant reduction in two key areas: field of view (FOV) and image stability. A wider FOV allows your eyes to scan a larger swath of timber at once, increasing the odds of catching the subtle flick of an ear or the swish of a tail. A more stable image, inherent in lower magnification, reduces the micro-jitters from your hands, which is crucial for picking out a deer standing motionless among tangled branches.
Furthermore, the optical physics favor the 8×42 in lower light. The “exit pupil”—the beam of light that reaches your eye—is larger on an 8×42. A technical comparison shows that an 8×42 provides a 5.25mm exit pupil versus 4.2mm for a 10×42. A larger exit pupil is easier for your eye to align with, especially in the dusky light under a thick canopy, resulting in a brighter, more comfortable viewing experience. While 10x power has its place for identifying details at a distance, the 8×42 often proves to be the more effective tool for *finding* game in close to moderate-range wooded terrain.
Case Study: Eastern Hardwoods Whitetail Hunting
Field testing by TRACT Optics provides a clear, practical example. When hunting whitetail deer in Eastern hardwoods, the 8×42’s wider field of view (377ft vs. 341ft at 1000 yards) allows hunters to spot movement through thick branches more effectively. This wider viewing area is not a minor detail; it makes catching subtle movements that give away an animal’s position significantly easier in dense cover, proving that for this environment, a wider picture is more valuable than a more magnified one.
For a direct comparison, consider the key specifications. The 8×42 consistently offers a wider field of view and a larger exit pupil, making it superior for quick scanning and low-light performance. The 10×42 provides more detail at a distance but at the cost of stability and a narrower sight picture. The choice is a strategic one based on your primary hunting environment.
42mm vs. 50mm: Is the Extra Weight Worth the Extra Light at Dusk?
Once you’ve settled on magnification, the next logical question is objective lens size. The jump from a 42mm to a 50mm objective lens is primarily a quest for better performance during the first and last minutes of legal light. A larger objective lens gathers more light, which, in theory, should produce a brighter image. This is particularly relevant when using 10x magnification, as a 10×50 binocular produces a 5mm exit pupil (50÷10), while a 10×42 produces a much smaller 4.2mm exit pupil. The key is understanding how this interacts with the human eye.
The benefit of a larger exit pupil is only realized if your own pupil can dilate enough to accept that extra light. In young, healthy individuals, the pupil can dilate to about 7mm in complete darkness. However, this ability decreases with age. More importantly for hunters, physiological research shows that human pupils dilate to approximately 5mm in the twilight conditions of dusk. This means a 10×50’s 5mm exit pupil perfectly matches what the average hunter’s eye can actually use, delivering a noticeably brighter image than a 10×42. For a stationary hunter glassing a field as the light fades, this can be the difference between identifying a legal buck and seeing a blurry shape.
However, this brightness comes at a significant cost: weight and bulk. A pair of 50mm binoculars is substantially heavier and larger than its 42mm counterpart. For a mobile hunter who is hiking, climbing, or still-hunting, this extra weight can lead to fatigue much faster. Furthermore, the quality of the glass itself plays a massive role. A premium 42mm binocular with high-end ED glass and advanced coatings can often transmit light more efficiently and produce a sharper image than a budget-friendly 50mm optic. Therefore, the decision is a direct trade-off between low-light performance for stationary hunting and portability for mobile hunting.
ED vs. HD Glass: What Difference Can the Human Eye Actually See?
The terms “HD” (High Definition) and “ED” (Extra-Low Dispersion) are often used in marketing, but “ED” refers to a specific, tangible technology that produces a visibly superior image. All light, when passing through a standard lens, separates slightly into its component colors, much like a prism. This phenomenon, known as chromatic aberration, results in color fringing—typically a purple or green halo—around high-contrast edges. You might see it when looking at a dark tree branch against a bright, overcast sky. While “HD” can be a marketing term for a good optical system, “ED” glass directly addresses this physical problem.
ED glass is a special type of optical glass designed to minimize chromatic aberration by ensuring all wavelengths of light converge at the same point. The result is a dramatically sharper, clearer image with more accurate color rendition. The difference is not subtle, especially to a discerning eye. It becomes most apparent when you are trying to resolve fine details, such as counting the tines on an antler at a distance or picking out a tan-colored animal against a similarly colored hillside. The lack of color fringing provides cleaner lines and better contrast, which reduces eye strain during long glassing sessions.
As the Sightmark Optics Technical Team explains in their technical review, the effect is easy to spot once you know what to look for:
ED glass virtually eliminates chromatic aberration. Find a dark tree branch against a bright sky – with standard glass, you’ll see purple or green fringe on the edges.
– Sightmark Optics Technical Team, Sightmark Solitude XD Binoculars Technical Review
The visual below illustrates this difference. On the left, standard glass shows the characteristic color fringing that blurs edges. On the right, the ED glass provides a crisp, true-to-life image.

Investing in ED glass is one of the most significant upgrades you can make to your optical system. While it comes at a higher price point, the enhanced resolution and clarity it provides are a tangible advantage in the field, allowing you to see details that would be lost with standard optics. This is where the mantra “buy the best glass you can afford” truly holds weight.
The Neck Strap Mistake That Causes Fatigue and Clanking
Even the most expensive optics are rendered useless if they are uncomfortable to carry or make noise at the critical moment. The standard-issue neck strap that comes with most binoculars is a primary culprit for both issues. It concentrates the entire weight of the optic on the back of your neck, leading to significant fatigue and pain during long days in the field. Worse, it allows the binoculars to swing freely, clanking against your rifle, bow, or zipper pulls, creating a hunt-ending racket when you need to be silent.
The solution is to upgrade to a binocular harness or chest pack system. These systems distribute the weight across your shoulders and back, dramatically increasing comfort and reducing fatigue. They also secure the binoculars snugly against your chest, eliminating swinging and impact noise while you walk, climb, or crawl. This keeps your primary optic protected and instantly accessible without the risk of creating unwanted sound. The difference in comfort and stealth is a game-changer for any hunter who spends more than a few hours on the move.
As one hunter on a popular forum described the switch:
I switched from a neck strap to a chest harness after one season of mountain hunting. The difference is night and day – no more neck pain after 10+ hour days, and the binoculars stay put when I’m climbing or crawling. The magnetic closure is completely silent, which has made a huge difference when stalking in close quarters.
– HuntTalk Forum Member
Beyond the harness itself, achieving true silence requires a systematic audit of your entire carry setup. Metal buckles, plastic clips, and even the optic’s housing can create noise. Taking the time to silence every potential contact point is a hallmark of a meticulous and successful hunter. It’s an investment in preparation that pays off when you are within yards of your quarry.
Essential Audit Checklist: Achieving a Silent Stalk
- System Test: Put on your full hunting kit and walk 100 yards, specifically listening for any rhythmic clicks, clanks, or squeaks from your optics setup.
- Hardware Silencing: Identify all metal buckles or plastic clips on your harness and optic. Wrap them with stealth tape, hockey tape, or self-adhering vet wrap to deaden sound on impact.
- Contact Point Buffering: Apply small patches of moleskin to any points where your binocular barrels might contact your rifle stock, bow riser, or zipper pulls.
- Closure Check: Test the opening and closing mechanism of your bino harness. If it uses loud velcro or a snapping clip, consider upgrading to a system with a silent magnetic closure.
- Positional Adjustment: Experiment with carrying the harness higher or lower on your sternum to find the most stable and comfortable position that minimizes movement while walking or crawling.
When to Mount Your Binoculars to Find Game You Are Missing?
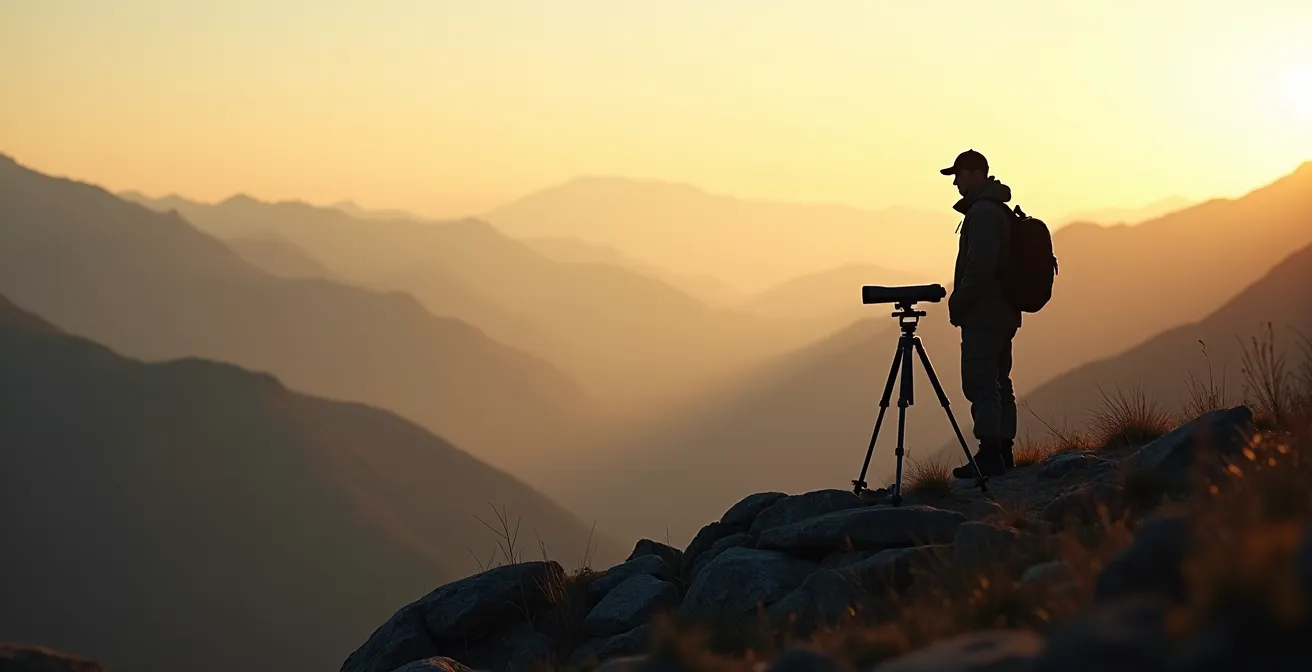
The vast majority of hunters use their binoculars handheld, which is perfect for quick scans and mobile hunting. However, this method has a major limitation: the inherent instability of the human body. Even the steadiest hands introduce micro-tremors that blur the image, making it difficult to detect subtle details or small, distant animals. The solution, which is rapidly gaining popularity among serious Western hunters, is to mount your binoculars on a tripod. This simple act transforms your binoculars from a scanning tool into a powerful, systematic glassing instrument.
By eliminating hand-shake, a tripod-mounted binocular allows you to resolve far more detail than is possible handheld. You can effectively “grid” a distant hillside, meticulously examining every bush and shadow without your arms getting tired or the image shaking. This stability is so effective that field reports consistently demonstrate that hunters spot up to 90% more game when using tripod-mounted binoculars for these systematic searches. You start to see not just the obvious animals, but the ones bedded down, partially obscured, or standing still in the shadows—the game you were previously missing.
This technique is particularly effective with higher-power binoculars (12x, 15x, or even 18x), which are often designed with a built-in tripod adapter. These “super binos” can effectively bridge the gap between handheld binoculars and a spotting scope, offering much of a spotter’s magnification with the superior comfort and depth perception of two-eyed viewing. This dramatically reduces eye strain during marathon glassing sessions that can last for hours.
Case Study: 15×56 Binoculars as a Spotting Scope Alternative
An interesting test conducted by competitive shooters demonstrates this principle perfectly. When testing Swarovski 15×56 SLC binoculars on tripods, they found them to be nearly as effective as entry-level spotting scopes for observing targets at distances of 500-800 yards. The crucial finding was that the two-eyed viewing experience reduced perceived eye strain by approximately 40% during extended observation periods compared to using a single-eye spotting scope. For hunters who spend hours behind the glass, this reduction in fatigue is a massive advantage.
Mounting your binoculars is a strategic decision. It’s not for every situation, but for any hunt that involves glassing open country from a stationary position, it is arguably the single most effective tactic you can employ to increase your game-sighting success.
Why High Magnification Becomes Useless in Mid-Day Heat Mirage?
Every long-range hunter or shooter has experienced it: the frustrating, shimmering distortion that makes distant objects appear to boil or waver. This phenomenon, known as heat mirage, is caused by thermal waves rising from the sun-heated ground. These waves are layers of air at different temperatures and densities, which act like a series of weak, shifting lenses. When you try to look through them with a high-magnification optic, you are simply magnifying the distortion, not the target.
This is the great equalizer of optics. It doesn’t matter if you have a $4,000 spotting scope capable of 60x magnification; if the mirage is heavy, that power becomes a liability. The image will be so distorted and blurry that it’s impossible to resolve any fine detail. In these conditions, a lower-power optic, such as a 10x or 12x binocular, will often provide a more usable image because it is less affected by the atmospheric disturbance. As one experienced shooter on a long-range forum eloquently put it, it’s a matter of signal versus noise.
Trying to use 60x magnification in a heavy mirage is like turning up the volume on a static-filled radio station. You don’t get a clearer signal; you just get louder static.
– Long Range Hunting Forum Member, Discussion on Binoculars vs Spotting Scope
The visual effect of mirage can be dramatic, turning a clear view of a distant animal into a fragmented, unrecognizable shape, as depicted in the landscape below.
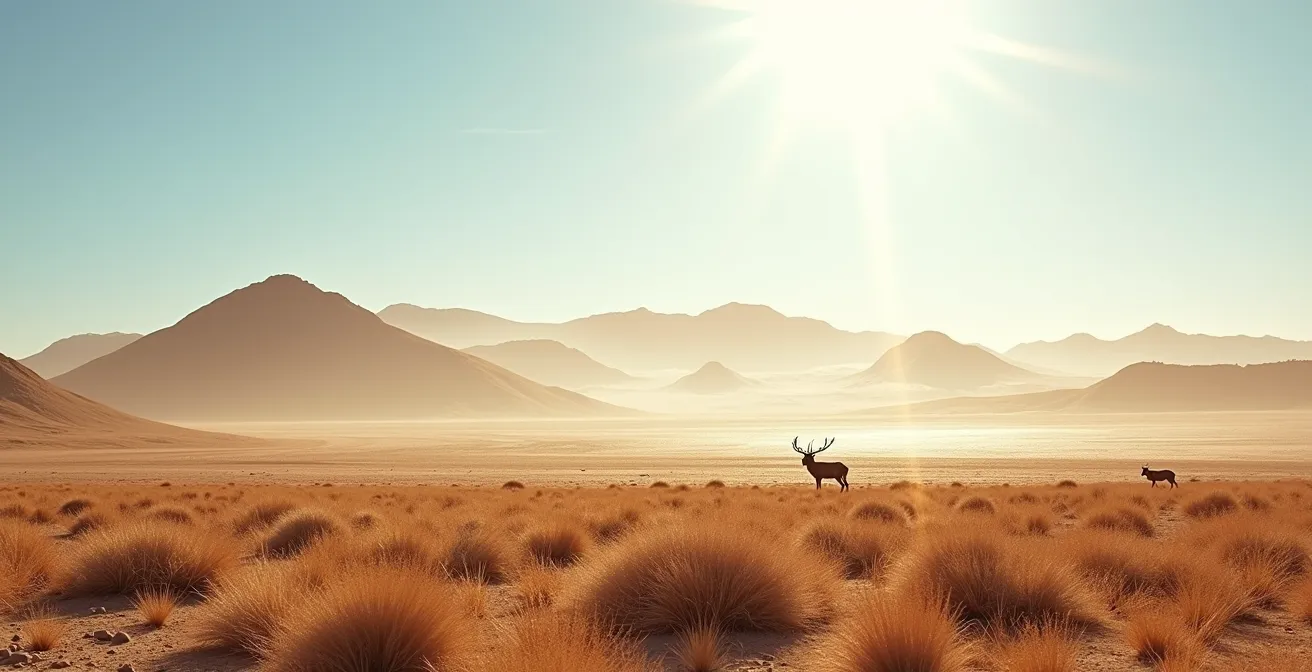
Instead of fighting the mirage, experienced glassers learn to work with it. The key is to reduce magnification to a more usable level (e.g., dialing a spotter down to 20x-30x) and to time your observations. The best clarity is almost always found in the first few hours after sunrise and the last hour before sunset, when the ground and air temperatures are more stable. During the mid-day peak, it’s often more productive to switch back to lower-power binoculars for scanning or to focus on glassing shaded slopes that are less affected by direct sunlight.
How to Use Satellite Imagery Without Losing the Spirit of the Hunt?
The advent of high-resolution satellite imagery and digital mapping apps has fundamentally changed how we scout. We can now virtually explore a hunting unit from our living room, identifying promising basins, potential glassing knobs, water sources, and access routes before ever setting foot in the field. This “e-scouting” is an incredibly powerful tool that can save countless hours and miles of fruitless hiking. However, its use has also sparked an ethical debate within the hunting community about the spirit of fair chase.
The key to using this technology ethically is to view it as a tool for logistical planning and safety enhancement, not as a replacement for on-the-ground woodsmanship. Its greatest strengths lie in macro-level planning. You can use it to identify public/private land boundaries to avoid trespassing, plan efficient entry and exit routes, and mark potential campsites. Crucially, it’s an invaluable safety tool for marking the location of downed game for retrieval and for sharing your detailed hunt plan with family back home. This use of technology enhances the hunt by making it safer and more efficient, without diminishing the challenge of finding and stalking an animal.
The line is crossed when technology replaces the skill of the hunt itself. Relying solely on a screen can create a disconnect from the land and the animals. The “spirit of the hunt” is preserved when e-scouting is followed by “ground-truthing.” You might identify a promising-looking basin on a map, but only by getting on-site with your binoculars can you verify the terrain, scan for sign, and ultimately find game. The technology gets you to the right neighborhood; your skill and your optics are what find the animal. The spotting scope is then deployed for its intended purpose: to confirm species, sex, and trophy quality before committing to a stalk. This tiered approach blends modern efficiency with traditional hunting skills.
Key Takeaways
- Field of View vs. Magnification: In dense terrain, a wider field of view (found in 8x binoculars) is often more valuable for detecting movement than higher magnification.
- Light Gathering is Relative: Larger 50mm objectives only provide a benefit if your pupils can use the extra light; this advantage comes at a significant weight cost.
- Stability is Paramount: Unstable, high-magnification views are useless. Mounting your binoculars on a tripod eliminates shake and dramatically increases your ability to spot game.
- Respect the Atmosphere: Mid-day heat mirage renders extreme magnification ineffective. Adapt by glassing during cooler hours and dialing down your power.
Spotting Scope vs. Binoculars: When Is the Extra Weight Worth the Effort?
After dissecting the individual components, the final decision comes down to a single question: when is the bulk and weight of a dedicated spotting scope system worth carrying? The answer is a function of distance and purpose. Binoculars are for *finding* game. A spotting scope is for *evaluating* game you have already located at extreme distances. If your hunting style involves confirming the legality or trophy quality of an animal before committing to a multi-hour or multi-mile stalk, a spotting scope is not a luxury—it’s a necessity.
A practical rule of thumb has emerged from extensive field use, particularly in the open country of the West. This guideline helps quantify the decision: field testing has established that if 90% of your game identification occurs under 500 yards, a high-quality pair of binoculars (10x or 12x) is likely sufficient. Beyond that 500-yard mark, the detail required to judge antler size, age class, or sex becomes extremely difficult to resolve without the 20x to 60x magnification of a spotting scope. This is where the extra weight pays for itself by saving you wasted stalks on the wrong animal.
The following table summarizes the fundamental trade-offs between the two systems. A spotting scope offers unparalleled magnification for long-distance evaluation but suffers from a narrow field of view, higher weight, and greater eye fatigue. Binoculars offer a wide, comfortable view for scanning and are instantly deployable, but they lack the power for detailed analysis at range.
| Feature | Spotting Scope | Binoculars |
|---|---|---|
| Magnification Range | 15x-60x typical | 8x-12x typical |
| Field of View | Narrow (100-150ft @1000yds) | Wide (330-400ft @1000yds) |
| Weight | 2-4 lbs + tripod | 1.5-2 lbs |
| Setup Time | 2-3 minutes | Instant |
| Eye Fatigue | Higher (single eye) | Lower (both eyes) |
| Best Distance | 500+ yards | Under 500 yards |
| Portability | Requires pack space | Chest/neck carry |
Ultimately, the choice is not “either/or” for many serious hunters; it’s “both.” The most effective system often involves wearing a chest-mounted 8x or 10x binocular for constant scanning and mobility, while carrying a spotting scope and tripod in the pack, ready to be deployed for methodical glassing sessions or long-range evaluation. This allows you to leverage the strengths of each tool in the right context.
Assess your terrain, your most common hunting distances, and your tolerance for weight. Applying the principles discussed here will allow you to invest confidently in an optical system that will clarify the field, reduce fatigue, and ultimately make you a more effective hunter.
Frequently Asked Questions about Optics and E-Scouting
What’s the ethical way to use satellite imagery for hunting?
Use it primarily for safety and logistics: marking downed game locations, planning extraction routes, identifying private land boundaries, and sharing hunt plans with family. The technology should enhance safety and efficiency, not replace fair chase hunting ethics and on-the-ground skill.
How do I ground-truth my e-scouting?
Start with satellite identification of promising basins or feeding areas, then use your 10×42 binoculars on-site to verify terrain features and scan for game. Deploy your spotting scope only *after* locating animals with your binoculars to confirm species, sex, and trophy quality before planning and committing to your stalk.